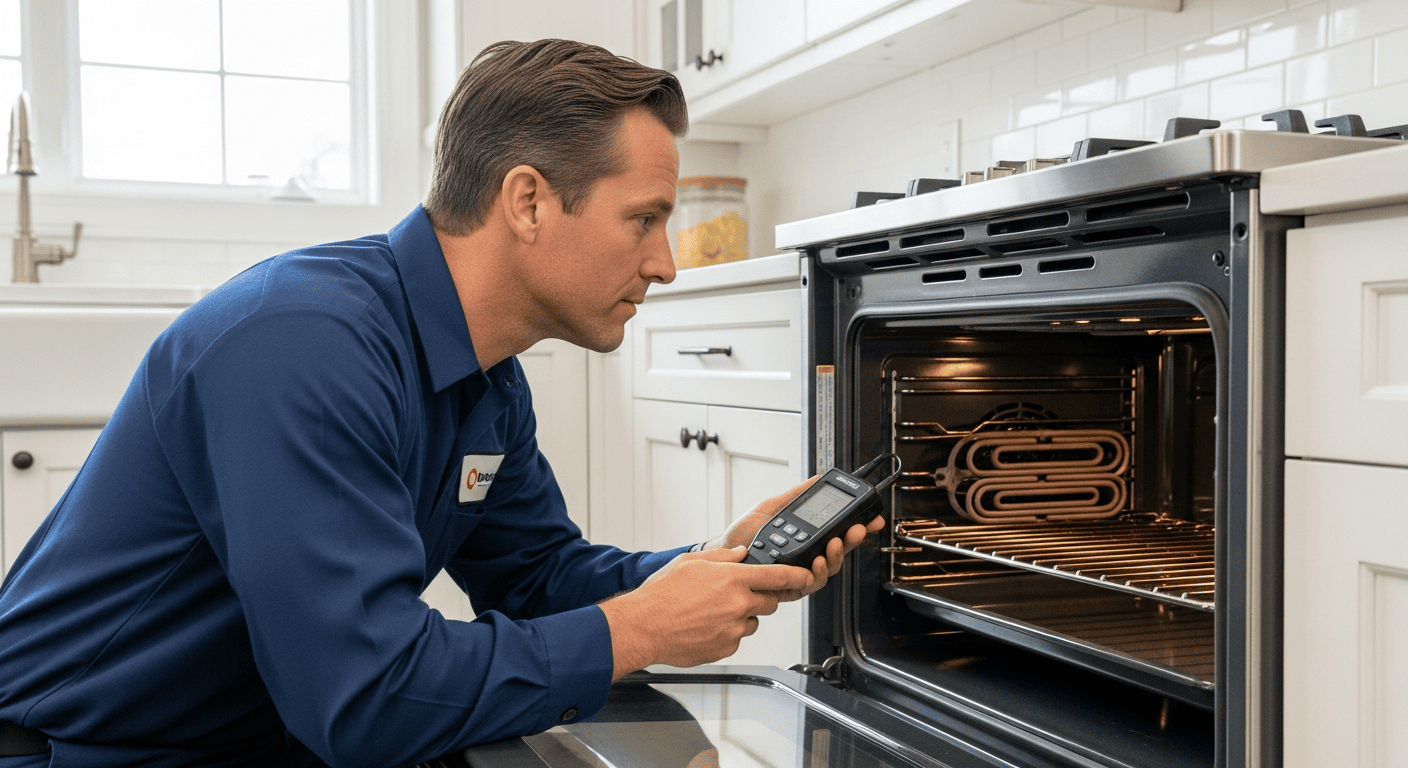
Start by confirming the oven actually isn’t heating. Sometimes it’s a calibration drift or a slower preheat than you’re used to—not a true failure.
How to Confirm Your Oven Isn’t Heating Up
Run a basic preheat test. Set the oven to 350°F and wait 15 minutes. Hold your hand near—not inside—the oven cavity. You should feel clear heat radiating within 10 to 15 minutes on most modern ovens.
For a more precise reading, place an oven thermometer on the centre rack. Preheat to 350°F and wait a full 20 minutes before checking. If the thermometer reads 200°F or lower and isn’t climbing, you have a confirmed heating problem.
A reading that’s off by 25 to 50 degrees is typically a sensor calibration issue—not a complete failure. That’s covered separately below.
Electric Oven Not Heating Up: Common Causes
Electric ovens depend on one or more heating elements plus a control system to generate and regulate heat. When any of these fail, the oven stops producing heat.
Bake Element Failure (Most Common)
The bake element—the heating coil mounted at the bottom of the oven cavity—is the most frequently replaced component in electric ovens. Look for these signs of failure:
- A visible break or separation in the coil
- Burn marks, blistering, or discolouration on the element surface
- The element looks dull rather than bright when powered on
- No red or orange glow when the oven is set to bake mode
Any of those signs confirm the bake element has failed. On many models—including popular Whirlpool, Maytag, and GE ranges—the element pulls out from mounting screws on the rear wall of the oven cavity and connects to a simple terminal block. No hard wiring is required. Check your model’s manual or a model-specific video before attempting.
Broil Element Failure
The broil element sits at the top of the oven cavity. On many models, both elements cycle together to maintain an even bake temperature. A failed broil element can therefore prevent bake mode from working correctly.
Look for the same visual clues: cracks, burn marks, or a dull surface. A failed broil element on an older unit often means the bake element is close behind it.
Oven Control Board Failure
Digital ovens use an electronic control board (also called an ERC or clock board) to manage heating cycles. When it fails, the board stops sending power to the elements entirely.
Signs of control board failure include:
- A blank or unresponsive display
- Buttons that don’t register when pressed
- The oven powers on but elements never receive power
- Error codes such as F1, F3, or F7 on the display
Control board replacement requires accurate diagnosis and model-specific sourcing. We identify board failures quickly and order the correct part for your unit—whether it’s a Samsung NE59 series, a Bosch HBL series, or another model.
Thermal Fuse (Safety Cutout)
Electric ovens contain a thermal fuse—a one-time safety device that cuts power to the heating elements if the oven overheats. Once blown, it won’t reset. The fuse itself is inexpensive, but the real question is what caused the overheating event in the first place. Replacing the fuse without finding the root cause almost always leads to a second blown fuse.
Oven Temperature Sensor (RTD Probe)
The temperature sensor—technically a resistance temperature detector, or RTD probe—tells the control board what temperature the oven has reached. A drifted or failed sensor causes the board to stop the heating cycle too early.
Symptoms of a bad RTD probe:
- Oven heats to 200°F and stops, regardless of the set temperature
- Temperature display shows clearly incorrect readings
- Preheat takes 35 minutes or longer
- Error code F3 or F4 on compatible models
The probe is usually mounted at the rear upper wall of the oven cavity and connects to the control board via a two-wire harness. Replacement is manageable for experienced DIYers—but the wiring connection must be secure, or you’ll introduce a new fault.
Hidden Bake Element
Some high-end electric ovens—including certain KitchenAid, Frigidaire Gallery, and Bosch models—conceal the bake element beneath the oven floor. You won’t see a visible coil, but it can fail like any other element. If there’s no visible element at the bottom of your oven cavity and the oven isn’t heating up, you likely have a hidden element model.
Accessing a concealed element requires removing the oven floor panel. This is a technical repair best left to a professional.
Gas Oven Not Heating Up: Common Causes
Gas ovens rely on an igniter to open the gas valve and light the burner. A failure anywhere in that sequence stops the heating cycle.
Igniter Failure (Most Common)
The igniter is a glow-bar coil that draws current, heats up, and signals the gas valve to open. As igniters age, they weaken and eventually fail to draw enough current to open the valve—even if they still glow.
Watch for these signs:
- The igniter glows orange but very faintly, and the burner never lights
- The igniter glows bright but still doesn’t ignite the gas
- You hear a clicking or ticking sound as the oven tries repeatedly to ignite
- The oven eventually stops trying and displays a fault code
Replacing a gas igniter is borderline DIY on many models. The part is accessible on most freestanding ranges. That said, you’re working near gas connections—if you’re not confident, call a technician. We’re TSSA certified for gas and propane appliance work and keep common igniter models in stock for fast turnaround.
Gas Valve Not Opening
The gas valve controls fuel flow to the burner. It only opens when the igniter draws sufficient current—typically 3.2 to 3.6 amps. A weak igniter is often the culprit, but occasionally the valve itself is stuck or faulty.
In both cases, the igniter will glow without the burner lighting. Diagnosing the difference requires measuring igniter amperage with a clamp meter—something we do on every gas service call.
Thermocouple Failure (Standing Pilot Models)
Older gas ovens use a standing pilot light rather than an electronic igniter. The thermocouple is a safety sensor that holds the gas valve open as long as the pilot is lit. If the thermocouple fails, the valve closes and the oven won’t heat.
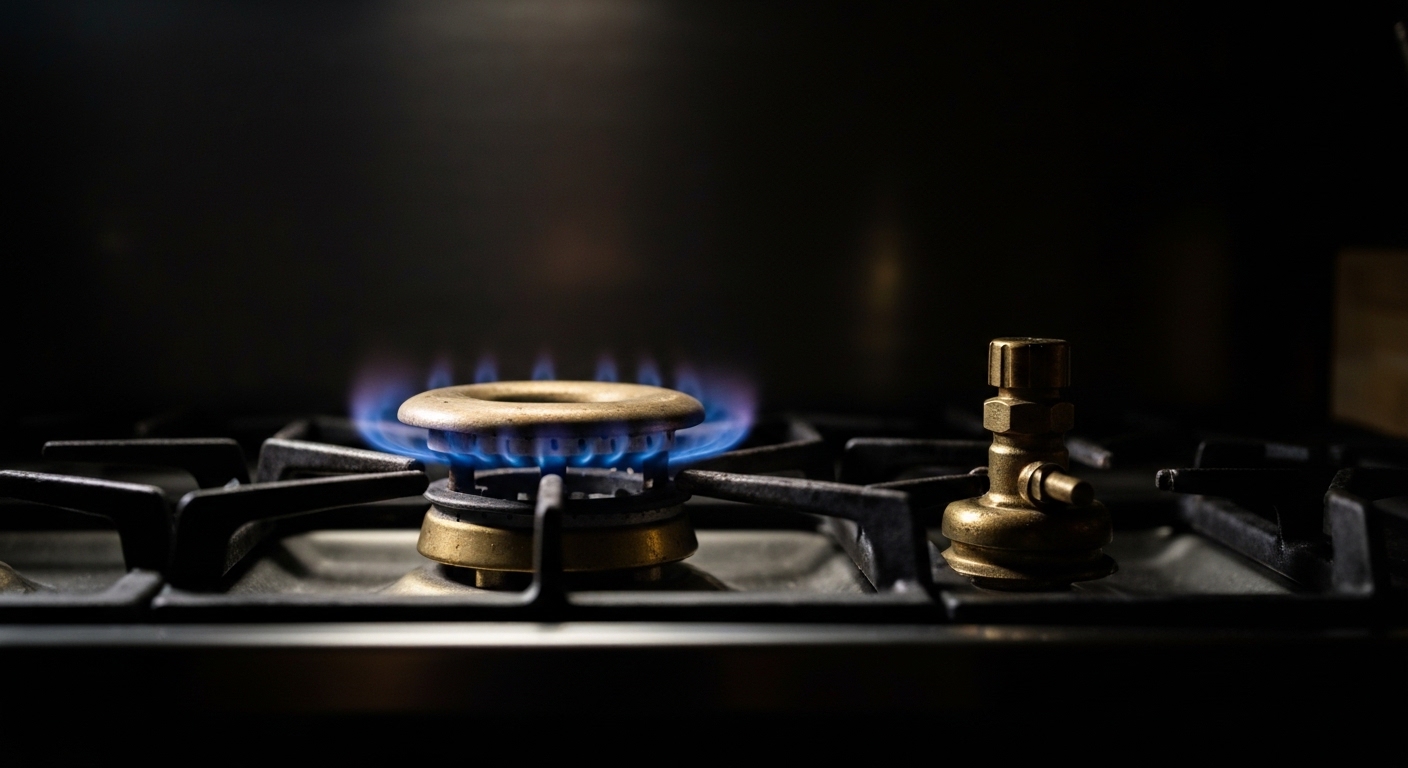
Check that the pilot light is burning—it should be a small, steady blue flame visible through the access hole or oven window. If it won’t stay lit after relighting per your manual, the thermocouple has failed and needs replacement.
Safety Valve Issue
Gas ovens contain multiple safety valves that prevent gas from flowing when conditions aren’t right. If one malfunctions, it can block gas entirely even when the igniter and thermocouple are functioning normally. Testing and replacing a safety valve requires certified equipment and gas appliance licensing—this is not a DIY repair.
Gas Supply Problem
Before assuming the oven is at fault, check whether the stovetop burners work. If they light normally, the gas supply is fine and the problem is oven-specific. If nothing works, contact your gas provider—there may be a supply interruption or a shut-off valve that needs attention.
Oven Preheating Too Slowly
A slow preheat is different from an oven not heating up at all. If your oven reaches temperature eventually—but takes 35 to 45 minutes to get there—the RTD probe is likely reporting a higher temperature than the oven has actually reached. The control board stops heating too early based on that false reading.
Check your user manual for a calibration adjustment option. Many modern ovens allow you to offset the temperature setting through the control menu—it costs nothing and occasionally resolves the issue. If recalibration doesn’t help, the sensor needs replacing.
Self-Clean Lockout: Door Won’t Unlock After Cleaning
After a self-clean cycle, the oven door locks mechanically until the cavity cools below roughly 200°F. If the door remains locked after the oven has fully cooled, the door latch motor has likely failed.
Don’t force the door. The latch motor is a small motorized assembly—forcing it open bends the latch arm and turns a simple motor replacement into a more expensive repair.
DIY vs. Professional Repair: Where to Draw the Line
Some oven repairs are accessible to a careful homeowner. Others require diagnostic equipment, specialized knowledge, or gas certifications.
Reasonable for DIY: Replacing an accessible bake or broil element in an electric oven. The element mounts with two screws and plugs into a terminal block—no wiring splice required. Turn the breaker off, let the oven cool completely, and follow your model’s documentation.
Borderline: Replacing a gas igniter. The part is accessible on most freestanding models, but you’re working near gas connections. If you’re not comfortable, the risk isn’t worth it.
Call a technician: Control board replacement, thermal fuse diagnosis, RTD probe replacement, gas valve testing, safety valve issues, hidden element access, and door latch motor replacement. These require proper tools, model-specific knowledge, or gas certification.
SureFit Appliance Services repairs all major brands—Samsung, LG, Whirlpool, Maytag, KitchenAid, GE, Frigidaire, Bosch, Miele, Sub-Zero, Wolf, Viking, Thermador, Jenn-Air, Fisher & Paykel, and more. Our service call is $85 + HST per appliance, and we waive the diagnosis fee if the repair proceeds. Every completed repair comes with a 90-day warranty on parts and labour. We provide a written quote before any work begins—no surprises.
Frequently Asked Questions: Oven Not Heating Up
Why is my oven not reaching the set temperature?
The most common cause in electric ovens is a failed bake element. In gas ovens, it’s usually a weak or failed igniter. A drifted RTD temperature sensor can also cause the oven to stop heating early—even if the element or igniter itself is working. Check for visible element damage first. If nothing is obvious, a technician can confirm the fault quickly using a multimeter or by testing gas valve current draw.
Can I replace an oven bake element myself?
Yes, on most electric ovens with an accessible element. The element typically mounts with two screws on the rear wall of the oven cavity and connects to a push-in terminal block—no wiring is involved. Switch off the circuit breaker, let the oven cool fully, and consult your model’s manual for the exact procedure. If the element is concealed beneath the oven floor, or if you’re not comfortable with the process, call a technician instead.
How do I know if my oven’s igniter is failing?
A failing igniter on a gas oven typically glows orange or red but produces a dim, weak light rather than a bright glow. The gas may never ignite, or the oven may attempt several cycles before giving up. A healthy igniter glows bright orange-white and lights the burner within 90 seconds. Igniters weaken gradually—if yours takes longer and longer to light, replacement is likely overdue.
What does the F3 or F4 error code mean on my oven?
On most Whirlpool, Maytag, KitchenAid, and related brands, an F3 or F4 code indicates an open or shorted RTD temperature sensor circuit. F3 typically means an open circuit (sensor disconnected or broken); F4 means a short. Both point to the RTD probe or its wiring harness as the likely fault. The code may clear after replacing the sensor, but if it returns, the control board may also need testing.
Is it worth repairing an older oven that won’t heat?
It depends on the appliance’s age and the cost of the repair. A bake element or igniter replacement on a 10-year-old range is usually worth doing—parts are inexpensive and the repair extends a solid appliance’s life. A control board or gas valve replacement on a 15-year-old budget range may cost more than the appliance is worth. We provide a written quote before any work begins, so you can make that call with accurate numbers in hand.
Book an Oven Repair in Ontario
SureFit Appliance Services is based in Keswick, Ontario and covers the GTA, York Region, Durham Region, Simcoe County, and Grey County—a 200 km service radius. Same-day appointments may be available. Emergency requests are reviewed before scheduling is confirmed. Our TSSA certification covers all gas and propane appliance work.
If your oven isn’t heating up and you’ve run through the checks above without a clear answer, schedule an oven repair appointment online or call us directly at (647) 977-2626. The $85 + HST per appliance service call is waived if the repair goes ahead—and every repair we complete is backed by a 90-day parts and labour warranty. Give yourself back a working kitchen!