
Why Filter Maintenance Matters
Your dishwasher filter captures food particles, grease, and debris during every wash cycle. Without regular cleaning, that trapped material accumulates until it begins actively working against the machine. A clogged filter can cause:
- Dishes remaining visibly dirty after a full cycle
- Unpleasant odours developing inside the dishwasher
- Drainage problems or standing water pooling at the bottom of the tub
- Reduced water pressure from the spray arms
Each of these symptoms compounds over time. What starts as slightly streaky glasses can progress to a machine that barely cleans at all—simply because the filter was never cleared.
How Often Should You Clean Your Filter?
For most households, once a month is the right interval. If you load dishes without rinsing them first, bump that up to every two weeks—more food debris reaches the filter with each cycle. Families running the dishwasher multiple times a day may find that even bi-weekly cleaning keeps performance noticeably sharper. When in doubt, pull the filter and take a look; a quick visual check takes thirty seconds.
Understanding Your Filter System
Most modern dishwashers use a two-part filter assembly, and both components need to be cleaned together:
- Cylindrical inner filter: A removable mesh tube that intercepts larger food particles before they can recirculate through the water.
- Flat base filter: A fine-mesh screen that sits beneath the cylindrical filter and catches smaller debris that passes through the first stage.
Think of them as a two-stage screening system. If either part is clogged, the whole assembly underperforms.
Step-by-Step Cleaning Instructions
Step 1: Remove the Bottom Rack
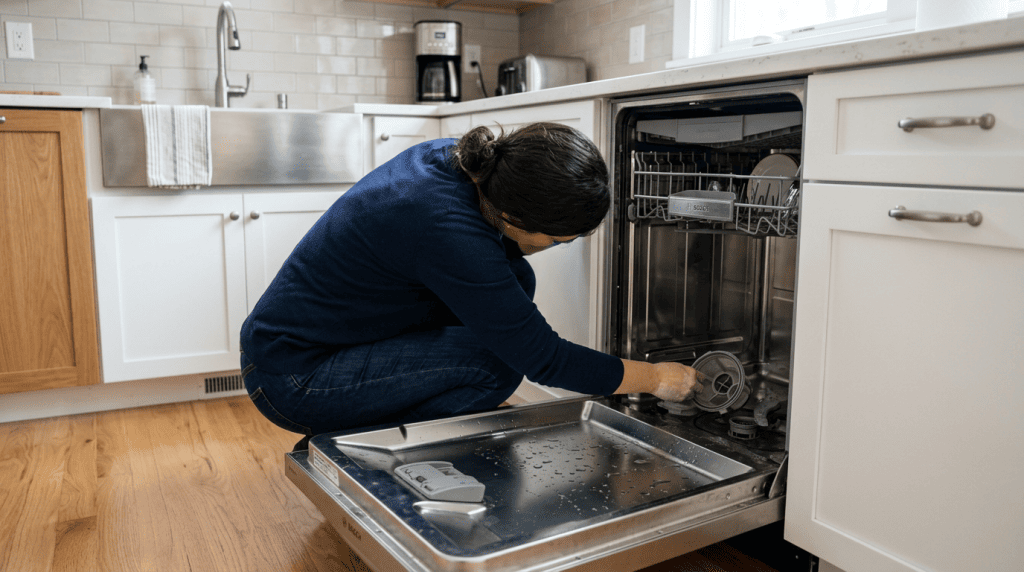
Open your dishwasher fully and slide the bottom rack out until it clears the tub. Setting it aside gives you unobstructed access to the filter area at the base of the machine.
Step 2: Locate and Remove the Cylindrical Filter
Look directly beneath the lower spray arm—you’ll see the cylindrical filter sitting in a recessed housing. Most models require a counterclockwise twist to unlock it. Grip the top firmly, rotate until you feel it release, then lift it straight up. Rest it on a clean towel while you retrieve the second piece.
Step 3: Lift Out the Flat Base Filter
With the cylindrical filter removed, the flat base filter will be exposed. Lift it carefully from its slot. These two pieces clean more effectively when handled together at the sink, so keep them side by side.
Step 4: Rinse Under Warm Running Water
Hold the cylindrical filter under warm—not hot—running water and rotate it steadily so the stream reaches every section of mesh. For stubborn grease or dried food residue, use a soft-bristled brush. An old toothbrush is ideal: it fits into the mesh texture without tearing it. Never use steel wool, scouring pads, or stiff wire brushes—these abrade the filter surface and create gaps that allow debris to bypass the system entirely.
Clean the flat base filter using the same method. Pay close attention to the outer edges, where particles tend to pack in tightly.
Step 5: Inspect the Spray Arm Holes
While the filters are drying, take a moment to examine the lower spray arm. Each small hole around the arm’s perimeter is a potential clog point. If any appear blocked with mineral deposits or food residue, use a round toothpick to gently clear them. This step is easy to overlook, but blocked spray holes directly reduce water pressure during the wash cycle—undoing much of the benefit from a clean filter.
Step 6: Reinstall the Filters Correctly
Place the flat base filter back into its slot first, seating it flat against the bottom of the tub. Then lower the cylindrical filter into position directly above it. Twist clockwise until you feel a firm click or definite resistance—this confirms the filter is locked and won’t vibrate loose during a cycle. A filter that isn’t fully seated can allow food particles to circulate freely through the wash water, defeating the purpose of cleaning it.
Step 7: Run an Empty Hot Cycle
Slide the bottom rack back in and run a complete wash cycle at the machine’s hottest setting with no dishes loaded. This flushes out any remaining loose particles dislodged during reinstallation and sanitises the interior of the tub at the same time.
Clean Your Door Gasket While You’re At It
The rubber gasket that seals your dishwasher door is a reliable hiding spot for mould and mildew, particularly in the deep folds where moisture collects after every cycle. Mix equal parts white vinegar and warm water, dampen a cloth, and wipe along the entire gasket perimeter. Work the cloth into each fold rather than simply wiping the surface. This takes about two minutes and prevents the musty smell that often gets mistakenly blamed on the filter.
Filter Location by Brand
If you’re having trouble finding your filter, here’s where to look on the most common brands:
- Bosch: Lower front-right corner of the tub
- Samsung: Bottom back area, centred beneath the spray arm
- LG: Bottom centre, directly under the lower spray arm
- Whirlpool: Bottom back corner of the tub
Your appliance manual will include a labelled diagram showing the exact filter location and model-specific removal steps. If you no longer have the manual, the manufacturer’s website will have a downloadable version searchable by model number.
When Cleaning Doesn’t Solve the Problem
A clean filter resolves the most common dishwasher complaints—but not all of them. If dishes continue coming out dirty or wet after you’ve thoroughly cleaned the filter and cleared the spray arm holes, the underlying issue is likely mechanical. A worn spray arm pump, damaged nozzles, a failing water inlet valve, or a blocked circulation line can all prevent adequate water movement through the machine, regardless of how clean the filter is. These problems require hands-on diagnosis with the machine’s panels removed—not something a cleaning routine can address.
Same-day appointments may be available. SureFit confirms timing after reviewing your request. Our technicians have decades of combined experience working on dishwashers from all major brands. We offer dishwasher repair services and back every repair with a 90-day warranty. Call us at (647) 977-2626 or book your diagnostic appointment online.
For related troubleshooting, see our guide on what to do when your dishwasher won’t drain.
Key Takeaways
- Clean your filter once a month—every two weeks if you load dishes without rinsing them first
- Remove both the cylindrical and flat base filters and rinse each separately under warm water
- Use a soft-bristled brush to dislodge stubborn residue; avoid abrasive scrubbers that damage the mesh
- Clear any blocked spray arm holes with a toothpick while the filters are out
- Run an empty hot cycle after reinstalling the clean filters to flush the system
- Wipe the door gasket with a diluted vinegar solution to prevent mould and lingering odours
- If performance problems continue after a thorough cleaning, contact a professional appliance repair technician for diagnosis
Related Services
Need expert help?
If troubleshooting hasn't resolved the issue, same-day appointments may be available across Simcoe & York Region. TSSA-certified technicians handle gas and propane appliance work. Washing Machine Repair → | Book Online | (647) 977-2626
Need Appliance Help? Call SureFit Today
A service-call fee of $85 + HST applies to each appliance diagnosed. If you approve a repair for an appliance, that appliance’s service-call fee is waived. 90-day parts & labour warranty on every job.