
DIY Steps: Try These First
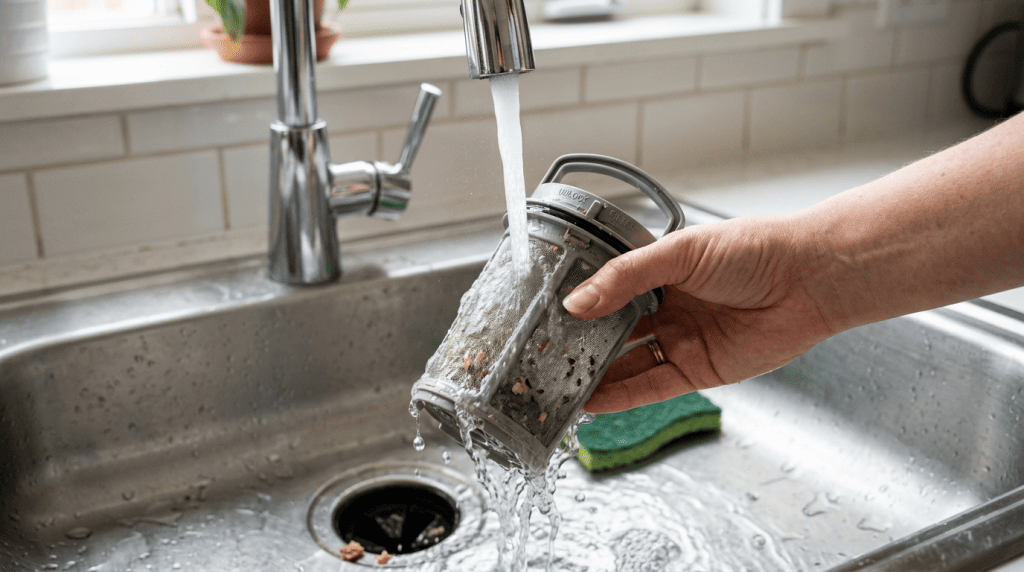
1. Clean the Filter
A clogged filter is the single most common reason dishwashers stop draining. Food particles, grease, and fine debris accumulate in the mesh over time until water simply cannot pass through.
How to clean the filter:
- Open the dishwasher door and pull out the lower rack.
- Locate the cylindrical filter at the bottom of the tub—typically positioned in the centre or toward the rear.
- Twist it counterclockwise and lift it out carefully.
- Rinse the filter under warm running water to flush loose debris.
- Use a soft-bristle brush—an old toothbrush works perfectly—to scrub away stubborn grease and food particles.
- Reinstall by twisting clockwise until snug. Do not overtighten.
- Run a short cycle to confirm drainage has improved.
Make filter cleaning a regular habit: every 3–6 months prevents the kind of gradual buildup that quietly kills drainage performance.
2. Inspect the Drain Hose for Kinks
The drain hose carries used water from the tub to your sink drain or garbage disposal. A single sharp bend is enough to restrict flow significantly.
What to do:
- Trace the full length of the drain hose, from the base of the dishwasher to its connection point under the sink.
- Look for crimps, flattened sections, or tight bends—any of these can choke off water flow.
- Confirm the hose forms a high loop beneath the sink cabinet or countertop. This loop prevents dirty water from siphoning back into the tub between cycles.
- Some models rely on a check valve (also called an anti-siphon valve) near the disposal connection instead of, or in addition to, the high loop. This one-way valve stops backflow—verify it moves freely.
- Straighten any kinks and re-secure the hose so the high loop is maintained.
3. Check for a Garbage Disposal Knockout Plug
New garbage disposals ship with a small plastic knockout plug sealing the dishwasher inlet port. If the disposal was recently installed and the plug was never removed, water has nowhere to go.
What to do:
- Look at the side of the disposal housing for the raised circular inlet where the dishwasher drain hose attaches.
- If the plug is still in place, you will need to remove it before any water can drain.
- Position a flathead screwdriver against the plug and tap it inward with a hammer—the plug will drop into the disposal chamber.
- Reach inside (with the disposal unplugged) and remove the dislodged plug before running the unit.
4. Clear the Drain Hose Connection at the Disposal
Even with the knockout plug removed, the inlet port can become packed with grease and food debris over time—particularly in hard-water areas where mineral deposits compound the problem.
What to do:
- With the disposal switched off at the circuit breaker, disconnect the drain hose from the disposal inlet.
- Shine a flashlight into the opening and look for blockages: compacted food, grease film, or white mineral scale.
- Use a straightened wire coat hanger or a small plumbing snake to break up and remove any obstruction.
- Flush the opening with hot water before reattaching the hose.
- Secure the hose clamp firmly—a loose connection here allows both leaks and drainage failures.
5. Run the Garbage Disposal
Before assuming the worst, run the garbage disposal for 30 seconds with cold water flowing. Soft debris sometimes lodges just inside the inlet and clears instantly once the disposal cycles.
Important: Keep your hand away from the disposal at all times, and always switch it off at the wall before any physical inspection.
When the Problem Requires a Technician
If you have completed every step above and water is still pooling at the bottom of the tub, the problem is internal. These three component failures are the most likely culprits at this stage.
Drain Pump Failure
The drain pump generates the pressure needed to force water out through the hose. When it fails, no amount of filter cleaning or hose straightening will restore drainage. Warning signs include unusual grinding or humming noises during the drain cycle, a faint burning smell, or complete silence where you would normally hear the pump activate. Pump replacement requires disassembly and should be handled by a qualified technician.
Check Valve (Flapper Valve) Stuck Closed
The check valve operates as a one-way gate: water exits freely, but backflow is blocked. Mineral deposits from hard water, accumulated food particles, or simple mechanical wear can cause the flapper to seize in the closed position, trapping water in the tub. This failure is notably more common in households with hard tap water. A technician can inspect, clean, or replace the valve depending on its condition.
Control Board Not Sending the Drain Signal
The main control board (PCB) sends timed electrical signals to the drain pump during each cycle. A faulty board may fail to trigger the pump at all, leaving the tub full despite every other component working correctly. Many dishwashers will display an error code on the panel when the control board is involved—note any codes you see before calling, as they speed up the diagnostic process considerably.
Brand-Specific Notes
Bosch Dishwashers
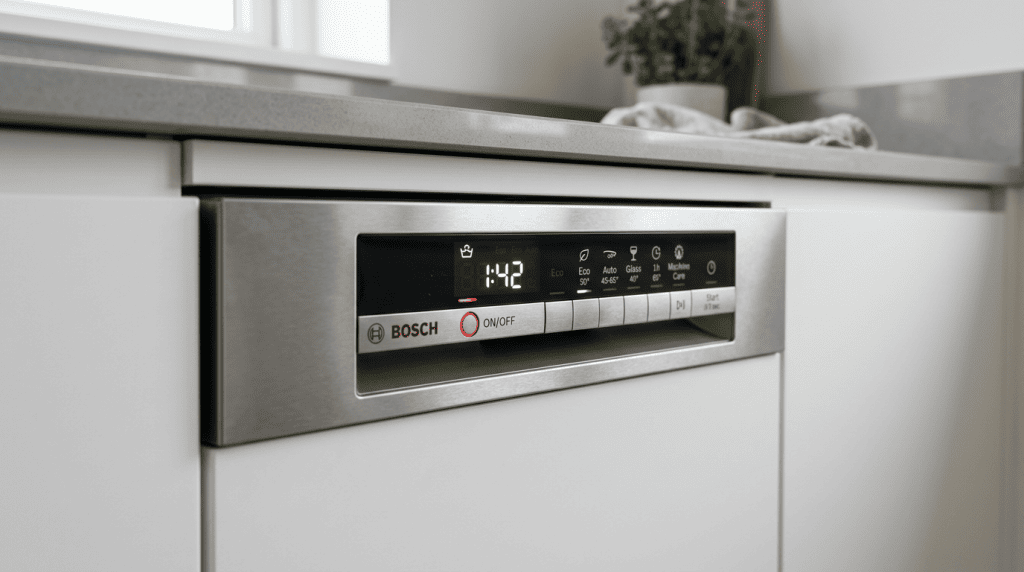
Bosch models commonly display error codes E24 or E25 when a drainage fault occurs. E24 indicates a drainage failure during the first half of the cycle, while E25 signals that drainage failed during the main wash or rinse phase. Both codes point toward the issues covered above—clogged filter, kinked hose, stuck check valve, or a failing pump. Work through the DIY steps first; if either code persists afterward, the repair requires a technician.
Samsung Dishwashers
Samsung dishwashers may generate 1E, 4E, or DE error codes in response to drainage problems, though some models display standing water without any code at all. Note that a brief pause following the rinse cycle—before draining begins—is entirely normal on most Samsung units and does not indicate a fault. If water remains in the tub 15 minutes after the cycle ends, proceed with the troubleshooting steps outlined above.
Professional Repair from SureFit Appliance Services
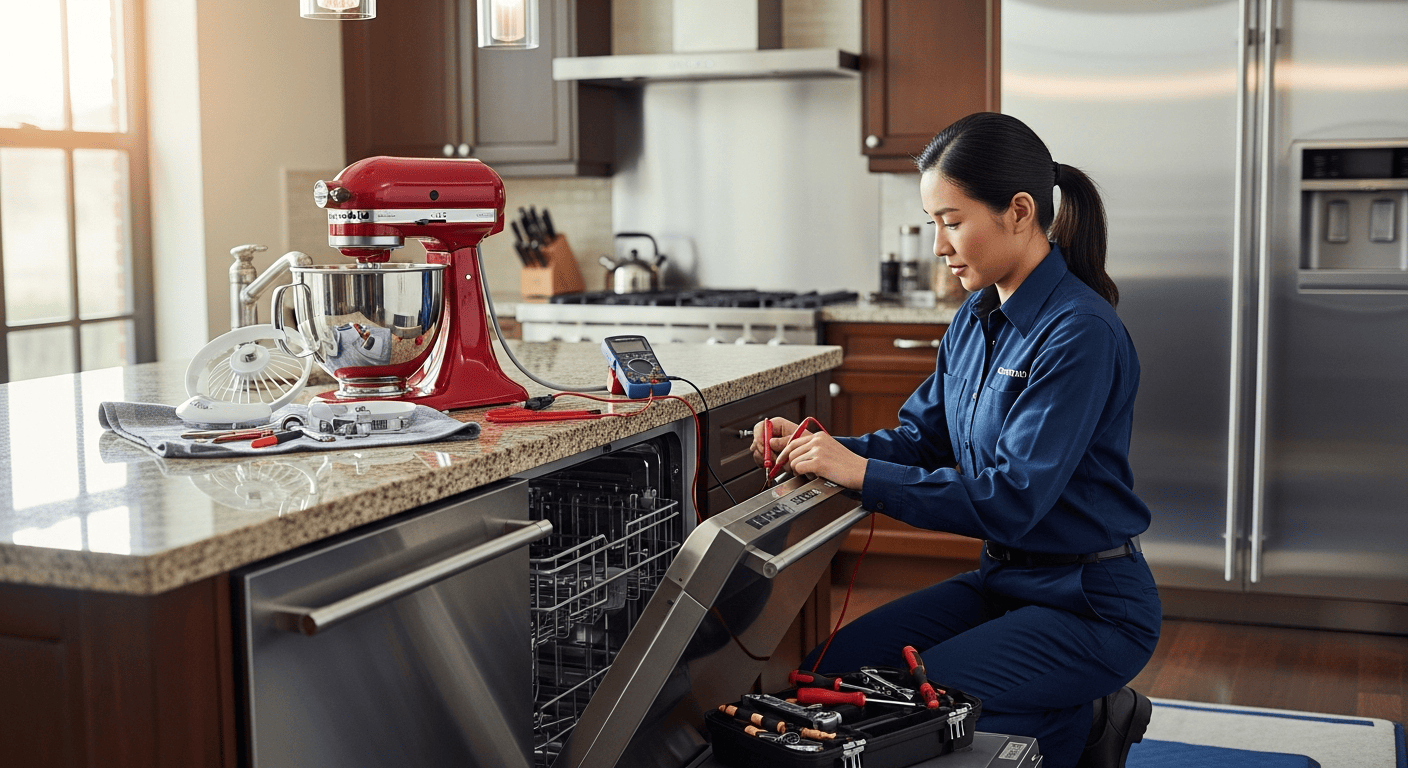
SureFit Appliance Services technicians bring decades of combined hands-on experience to dishwasher repair across all major brands—Bosch, Samsung, LG, GE, Maytag, Whirlpool, and beyond. Every brand is serviced with the same thoroughness, regardless of age or model.
What you can expect when you book with us:
- Diagnostic fee: $85 + HST per appliance, waived in full if you proceed with the repair—$14 below the regional average.
- Appointment Availability available across the Greater Toronto Area, Simcoe County, Grey County, York Region, Durham Region, and approximately 200 km beyond.
- 90-day warranty on all completed repairs, covering both parts and labour.
- All major brands serviced—no restrictions, no exclusions.
To book a repair, call us at (647) 977-2626 or schedule online at https://surefitapplianceservices.com/book-appointment/. SureFit Appliance Services is based in Keswick, Ontario, and serves homes and businesses throughout the region.
More Information
For a full overview of dishwasher repair and maintenance, visit our dishwasher repair guide. We also maintain brand-specific pages with detailed troubleshooting tips and service information for the most popular models.
Water pooling in a dishwasher is always a solvable problem. Sometimes the fix is a five-minute filter rinse; other times it calls for a pump replacement. Either way, the repair gets done right.
Related Services
Need expert help?
If troubleshooting hasn't resolved the issue, same-day appointments may be available across Simcoe & York Region. TSSA-certified technicians handle gas and propane appliance work. Washing Machine Repair → | Book Online | (647) 977-2626
Need Appliance Help? Call SureFit Today
A service-call fee of $85 + HST applies to each appliance diagnosed. If you approve a repair for an appliance, that appliance’s service-call fee is waived. 90-day parts & labour warranty on every job.